
When it comes to protecting your cryptocurrency, relying on an exchange or software wallet can be a risky gamble. Hacks, phishing scams, and exchange shutdowns have cost crypto investors billions. That’s where a proper hardware wallet setup comes in — a move that separates cautious holders from reckless gamblers.
Think of it like this: if your crypto portfolio is the treasure, then your hardware wallet is the vault. But here’s the twist — even the strongest vault is useless if you don’t lock it properly. That’s why getting the setup right is just as important as owning the wallet itself.
What Is a Hardware Wallet?
A hardware wallet is a physical device that stores your private keys offline. Unlike mobile or desktop wallets, which are exposed to online threats, hardware wallets offer “cold storage,” making them immune to most types of hacks.
Key Advantages:
- Offline Storage: Keeps your keys isolated from the internet.
- Tamper-Resistant Design: Most devices have security chips and PIN protection.
- Multi-Asset Support: Compatible with thousands of cryptocurrencies.
- Compatibility: Works with popular software wallets like MetaMask, MyEtherWallet, and Ledger Live.
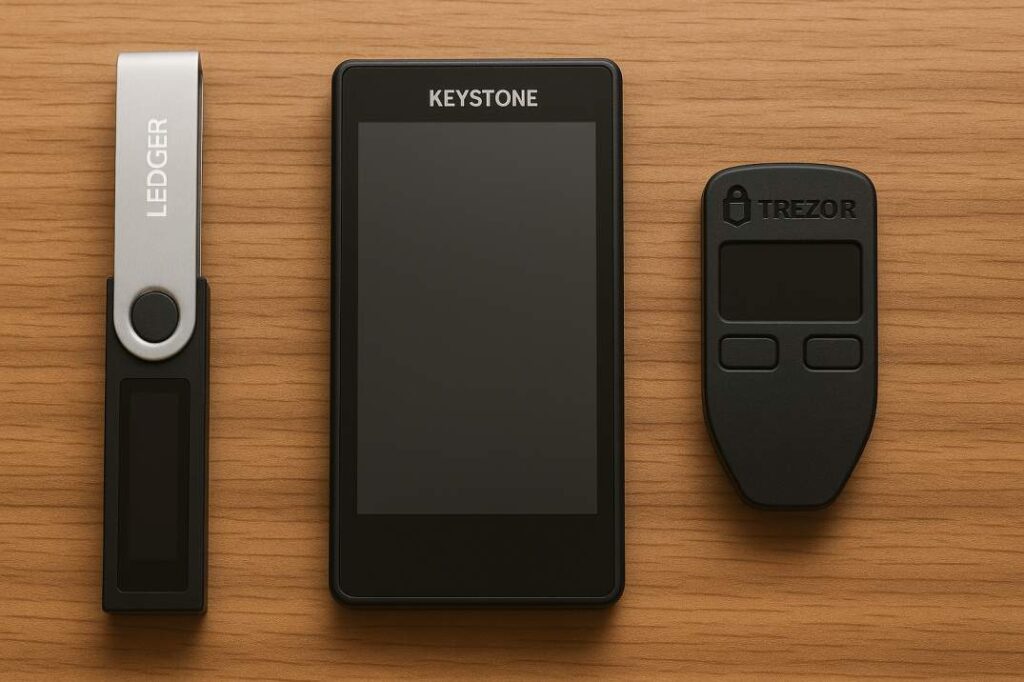
Popular brands include Ledger Nano X, Trezor Model T, and Keystone, each offering different features based on your needs.
Hardware Wallet Setup: The Essentials
Setting up a hardware wallet isn’t rocket science, but skipping steps can expose you to unnecessary risk. Here’s how to do it the right way:
🔐 1. Purchase Directly from the Manufacturer
Only buy from the official websites of the wallet providers or their verified resellers. Buying from Amazon or eBay risks receiving a tampered device.
⚠️ Warning: If the device comes preloaded with a recovery phrase or PIN, do not use it. That’s a red flag for a scam.
📦 2. Unbox and Verify
When you open the package, ensure:
- The box is sealed and untampered.
- The holographic security sticker (if applicable) is intact.
- The device has not been initialized.
Then visit the official website to verify the device’s authenticity using their tools (e.g., Ledger’s security checklist).
⚙️ 3. Connect Your Device and Begin the Hardware Wallet Setup with the Companion App
Each wallet comes with its own desktop or mobile software:
- Ledger → Ledger Live
- Trezor → Trezor Suite
- Keystone → Keystone Companion App
Download the latest version from the official site. Connect your wallet via USB or Bluetooth (depending on the model), and follow the prompts.
🔑 4. Set Up PIN and Recovery Phrase
This is the most critical part:
- Create a strong, memorable PIN (usually 4-8 digits).
- Write down your 24-word recovery phrase by hand on the provided sheet. Never store it digitally or take photos.
📝 Pro Tip: Consider using a fireproof recovery sheet or metal backup like Cryptosteel for added resilience.
✅ 5. Confirm Wallet Initialization
After setup, your wallet will generate a public address. Test it by:
- Sending a small amount of crypto.
- Receiving a confirmation on the device’s screen.
Now your wallet is officially ready to use.
Common Pitfalls in Hardware Wallet Setup
Even experienced users can slip up. Here are common mistakes during a hardware wallet setup:
| Mistake | Why It’s Risky | How to Avoid |
|---|---|---|
| Buying from third-party sites | Risk of tampering | Buy directly from the manufacturer |
| Storing recovery phrase online | Vulnerable to hacking | Use offline, physical storage only |
| Using public Wi-Fi for setup | Network sniffing threats | Use a private, secure connection |
| Skipping firmware updates | Leaves wallet exposed to vulnerabilities | Regularly update via official software |
| Not testing transactions | You won’t know if setup was successful | Always send a small test transaction |
Maximize Your Hardware Wallet Setup with Software Integration
One of the best parts about using a hardware wallet is pairing it with trusted software to manage your assets more efficiently.
🧩 Integration Options:
- MetaMask: Ideal for interacting with dApps on Ethereum and Layer-2 chains.
- Electrum: Great for Bitcoin purists.
- Exodus: Visually appealing interface with staking features.
- Ledger Live: All-in-one solution for Ledger users.
Want to manage NFTs? Pair your Ledger with MetaMask and access OpenSea securely — your keys never leave the device.
My First-Time Hardware Wallet Setup Mistake (Learn from It)
When I first set up my Ledger Nano X, I didn’t test it with a small amount of Bitcoin. I sent my full balance to a new address — and it took me over 12 hours of panic and reading forums to realize I hadn’t confirmed the transaction properly. Lesson learned.
So here’s my advice: start small, move slow, and double-check everything.
Advanced Tips for a Pro-Level Hardware Wallet Setup
Once you’ve nailed the basics, here are some power-user strategies:
1. Use a Passphrase for Added Security
This adds a 25th word to your recovery phrase. It creates a new hidden wallet only accessible with the passphrase — ideal for plausible deniability.
2. Multisig Wallets
Combine multiple hardware wallets in a multi-signature setup (e.g., 2-of-3) for enterprise-level security.
3. Air-Gapped Wallets
Use devices like Keystone or Coldcard that never connect to the internet, even during setup — perfect for maximum isolation.
Final Thoughts: Why a Solid Hardware Wallet Setup Is Worth It
The beauty of a hardware wallet setup is the peace of mind it offers. Yes, it takes a bit of effort, but that effort means ownership. Total, unfiltered, sovereign control over your money — and that’s the very ethos of crypto.
If you take nothing else from this article, remember: your crypto is only as secure as your weakest link. And in most cases, that link is the person holding the keys.
Take Control of Your Security
Already bought a wallet but haven’t set it up yet? Don’t wait — even idle crypto deserves protection.
👉 Follow the steps above and secure your digital future today.
Still deciding which hardware wallet is right for you? Check out our in-depth comparison of the top 5 hardware wallets to find the best fit.
And if you found this guide helpful, share it with a friend or fellow crypto holder. Because in crypto, knowledge truly is power.